Photo guide, for houses and townhomes

24 photos. One walkthrough video.

Take them on your phone, upload them with the link we sent you, and your video comes back ready to post. Work down the list in order. It follows the way a buyer walks the home.

24photos to take
48 hrsuntil your video
No gearjust your phone

Get the home ready

This is what makes the biggest difference in the finished video. Do it before you shoot.

  • Turn on every light, including lamps.
  • Open blinds and curtains.
  • Turn off ceiling fans and TVs.
  • Clear counters, sinks, and nightstands.
  • Hide personal photos, mail, and pet bowls.
  • Make beds and fold towels.
  • Close toilet lids.
  • Put clutter in the car or a closet you will not photograph.
  • Move pets out while you shoot.
  • Move cars out of the driveway.
  • Wipe your camera lens.

How to hold the phone

A few habits that keep every shot usable.

  • Hold your phone sideways at chest height.
  • Keep it level so the walls stay straight.
  • Use 0.5x when a room will not fit.
  • No 0.5x? Stand in the doorway with your back against the frame.
  • One photo per shot, 24 in all. Take as many tries as you like, then send your best of each.
  • Work down the list in order. It follows the way a buyer walks the home. Skip any room yours does not have.

Avoid a retake

These three cause almost every reshoot. Before you leave, scroll back and retake any with you in a mirror, a dark room, or leaning walls.
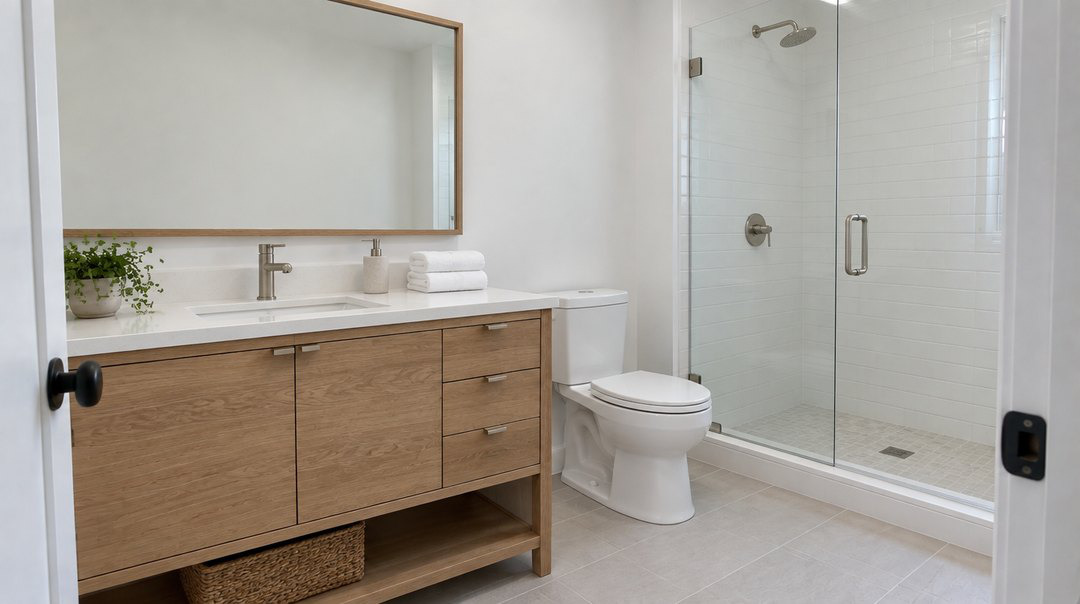
You are in the mirror, wrong
You're in it
You are in the mirror, right
Stepped aside

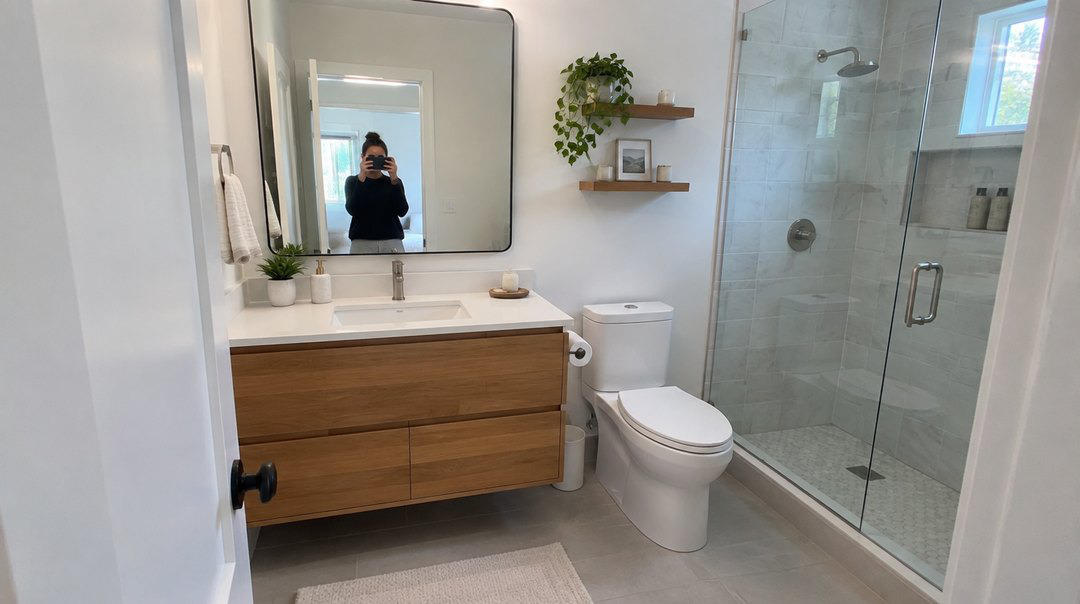
You are in the mirror

Check your screen for your reflection, then step aside until you are gone.
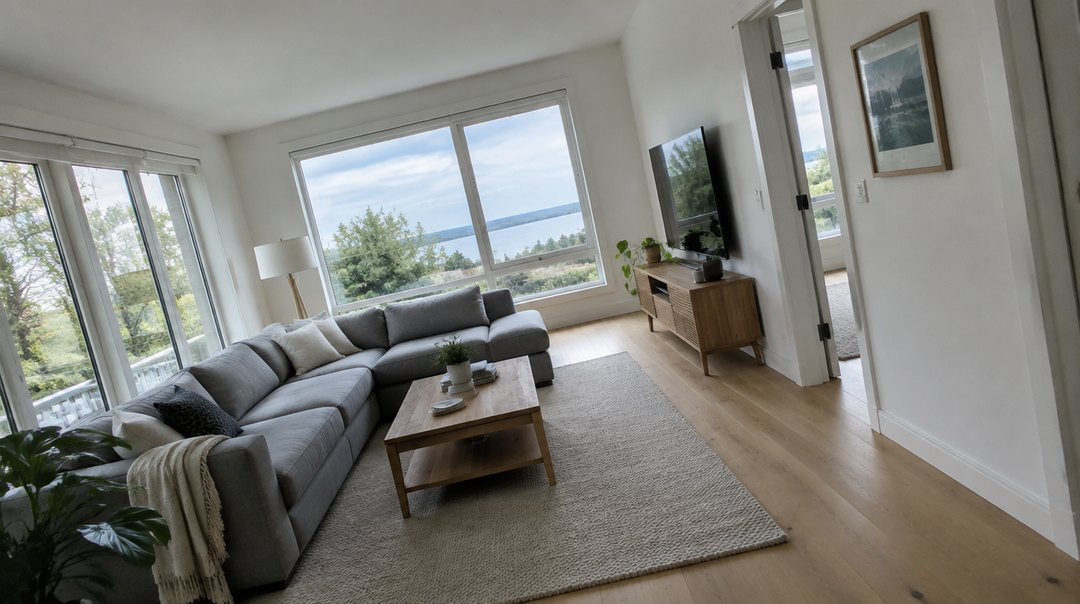
Phone tilted, wrong
Tilted
Phone tilted, right
Level

Phone tilted

A tilted phone makes the whole room lean. Keep it level at chest height.
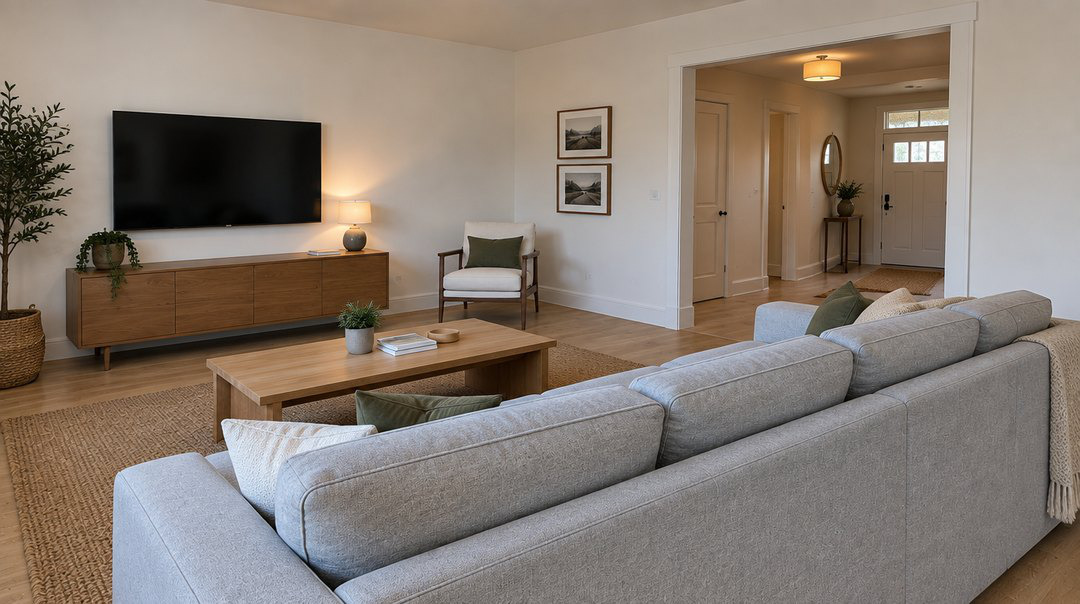
Held upright, right
Held sideways

Held upright

Upright photos cannot fill a video. Turn your phone sideways every time.

The 24 shots

Each one shows what your shot should look like. Take them in this order.

Do not have one of these? Skip it. Not every home has an office, a bonus room, or a pool. Just photograph the rooms yours has and leave the rest out. The list simply follows the way a buyer walks a home.

0 of 24 taken

ARRIVAL

Example of shot 1, The front at an angleShot 1

The front at an angle

From across the street near a front corner, front and one side in frame.
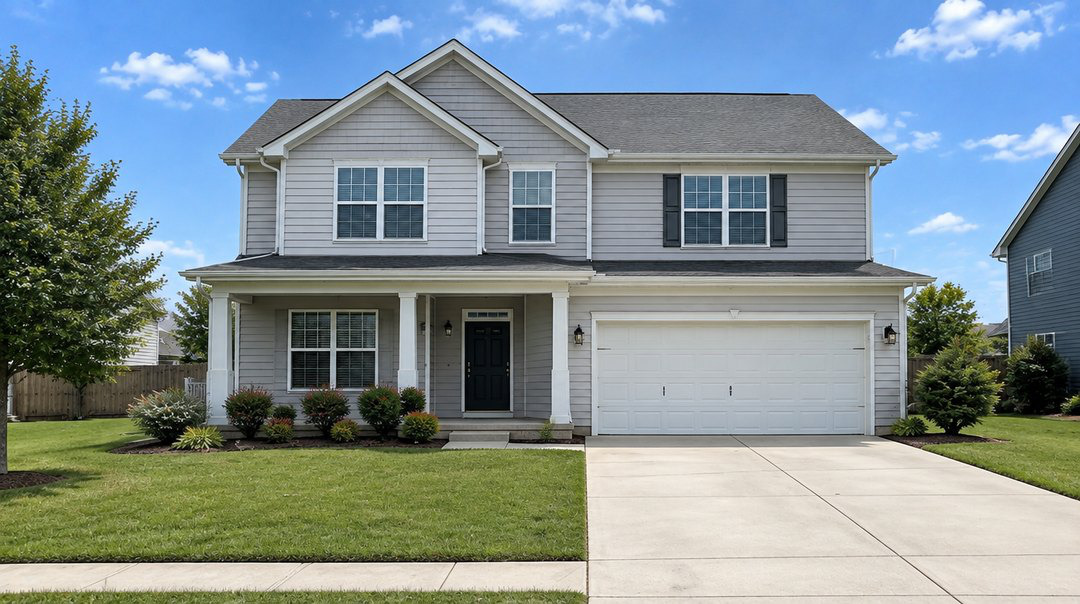
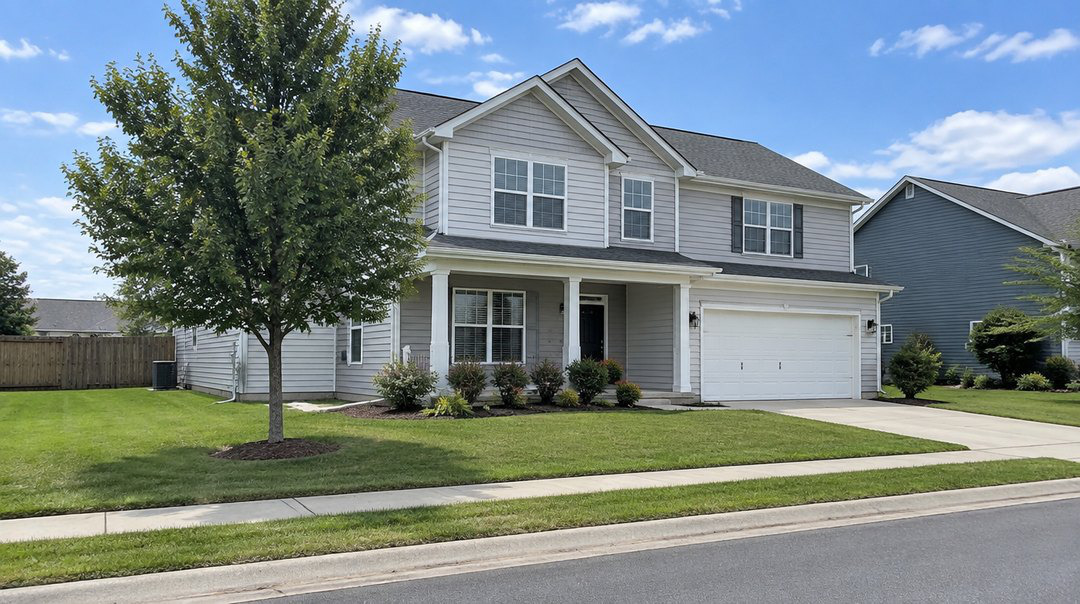
Example of shot 2, The front, straight onShot 2

The front, straight on

Centered, from the end of the driveway.
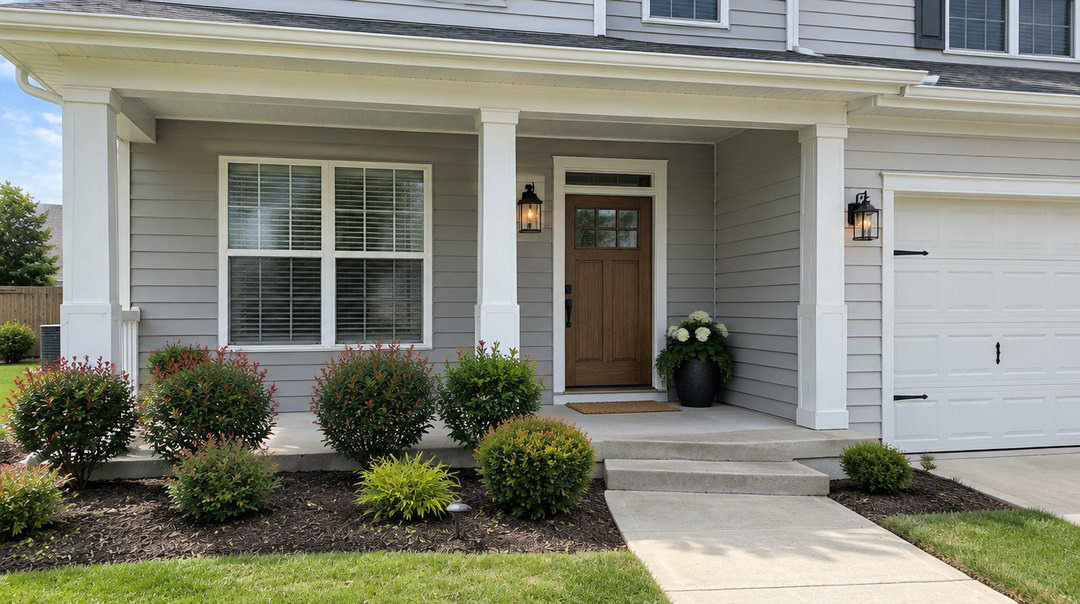
Example of shot 3, The front doorShot 3

The front door

Halfway up the walkway, porch and door in frame.
MAIN FLOOR

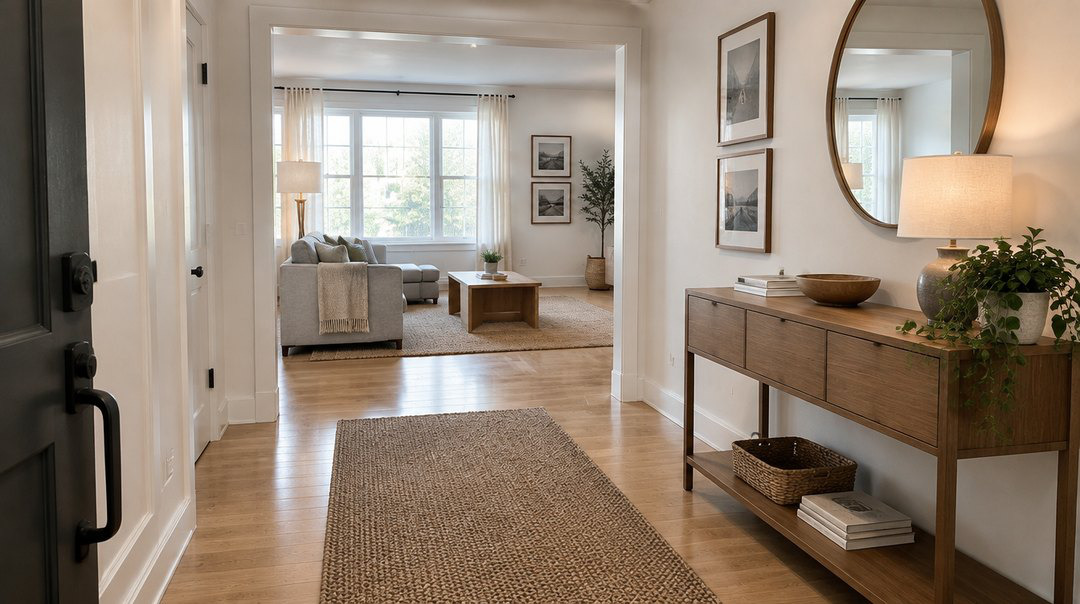
Example of shot 4, First look insideShot 4

First look inside

The view a guest sees the moment the door opens.
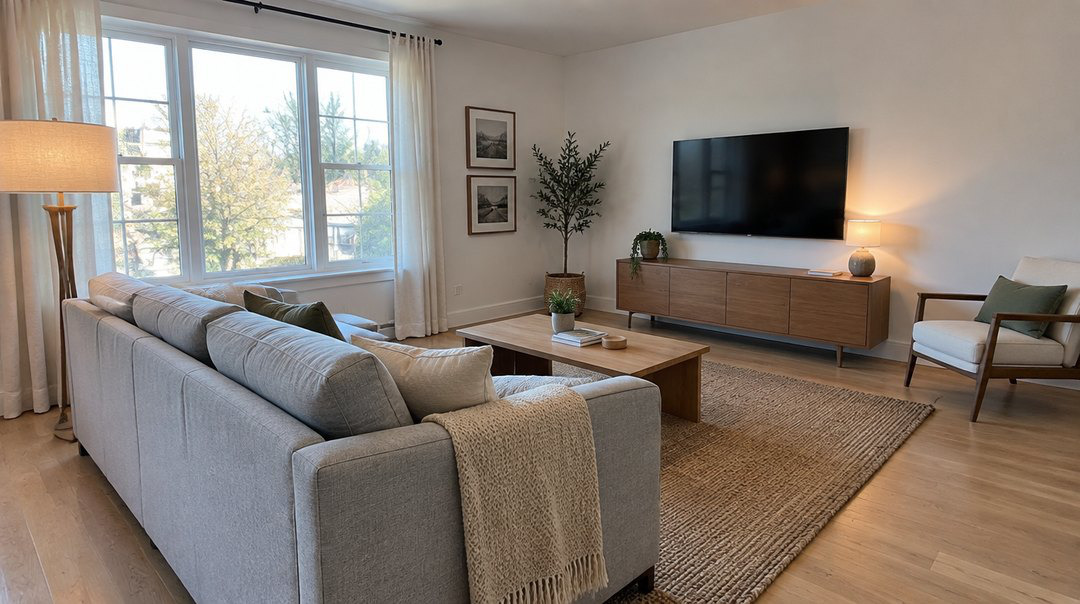
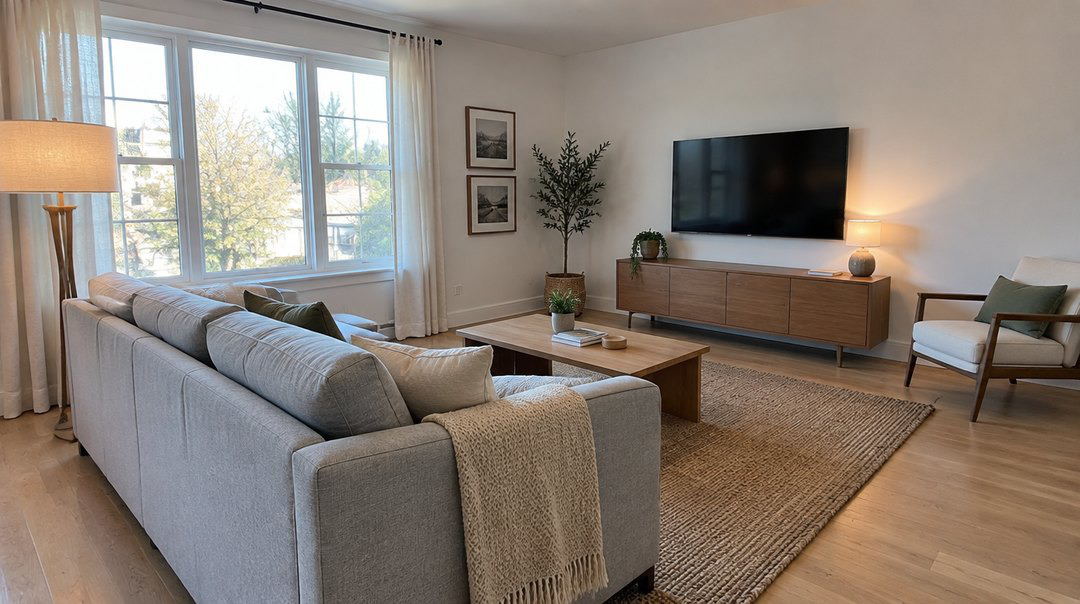
Example of shot 5, Living roomShot 5

Living room

Back into a corner so the windows and seating both fit.
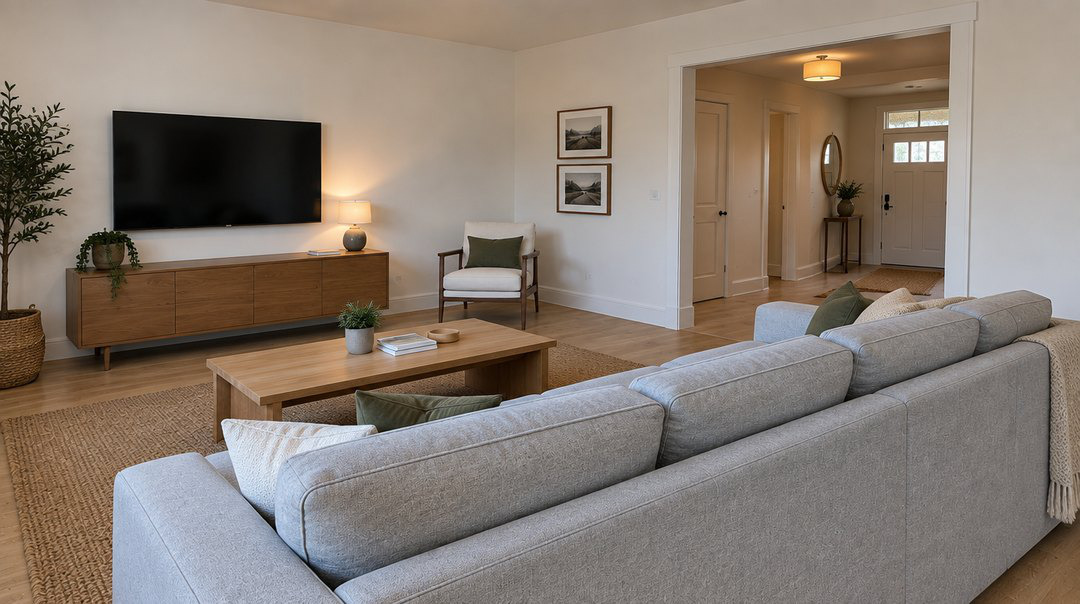
Example of shot 6, Living room, other angleShot 6

Living room, other angle

From the opposite corner, looking back the way you came.
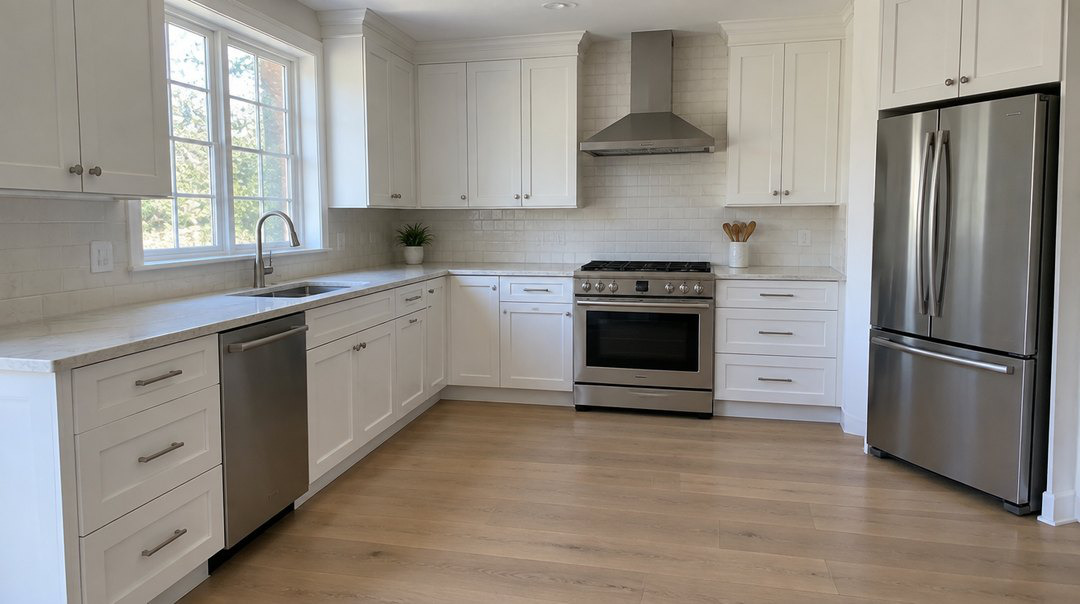
Example of shot 7, KitchenShot 7

Kitchen

From a corner, counters and appliances together.
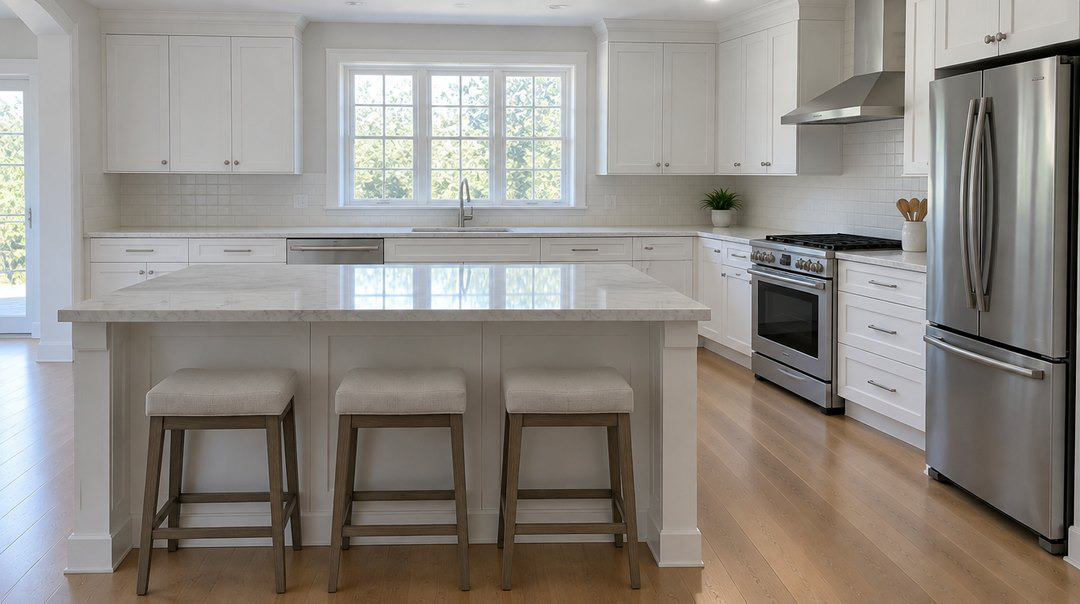
Example of shot 8, Kitchen, other angleShot 8

Kitchen, other angle

From the other end, island or sink in front of you.
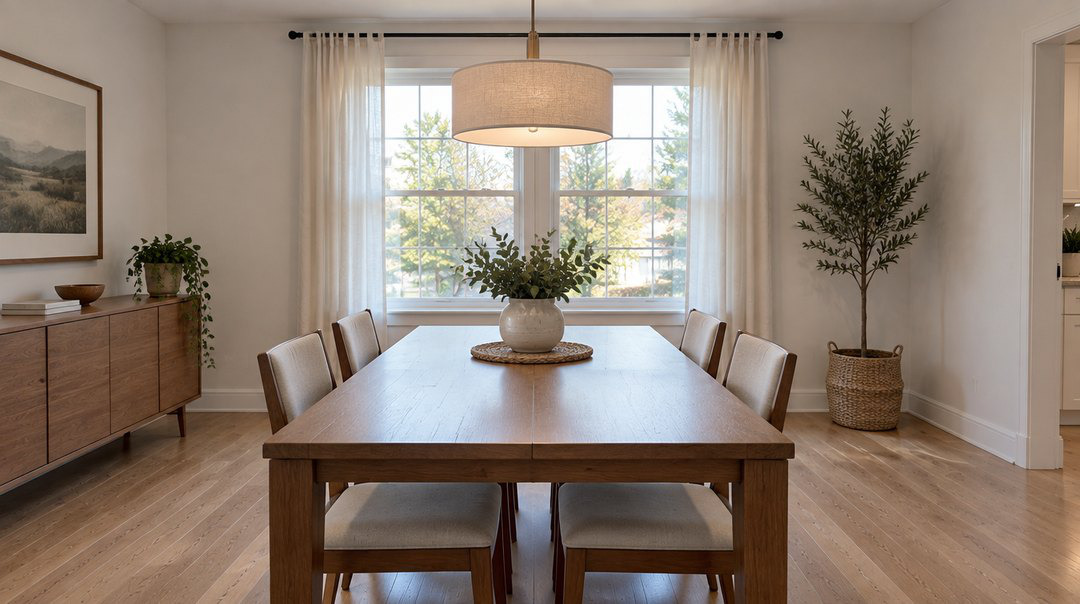
Example of shot 9, Dining areaShot 9

Dining area

From one end of the table, chairs pushed in.
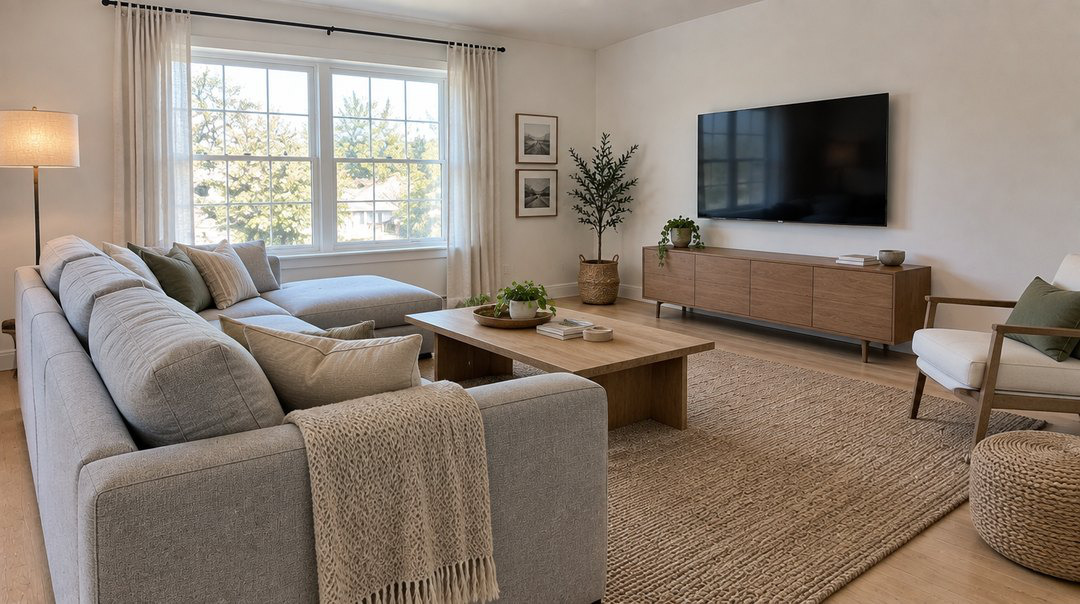
Example of shot 10, Bonus or family roomShot 10

Bonus or family room

From a back corner, seating and windows in frame.
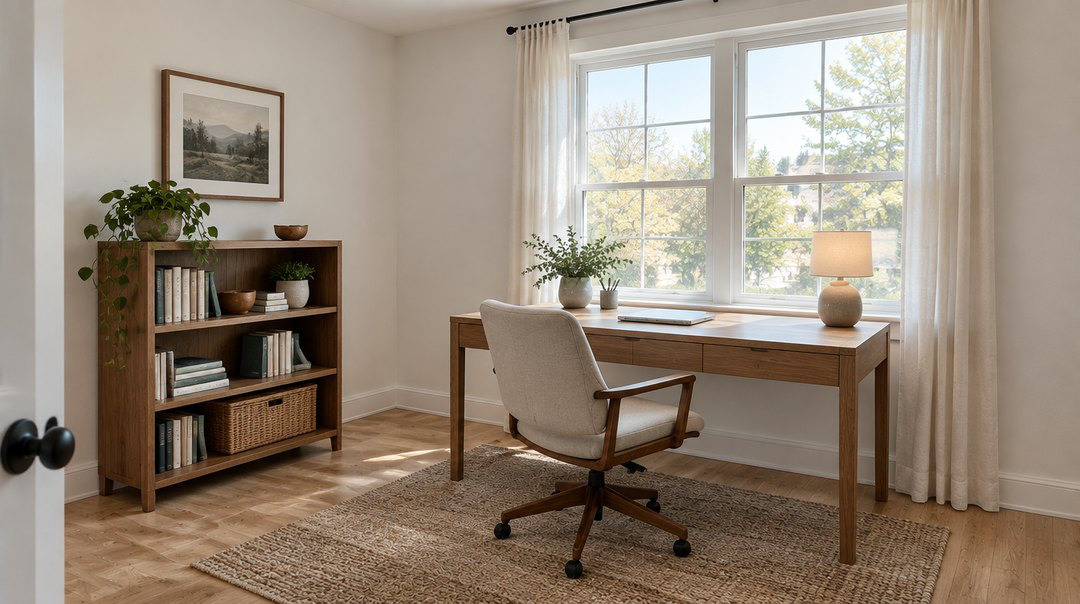
Example of shot 11, Home officeShot 11

Home office

From the corner by the door, desk and window together.
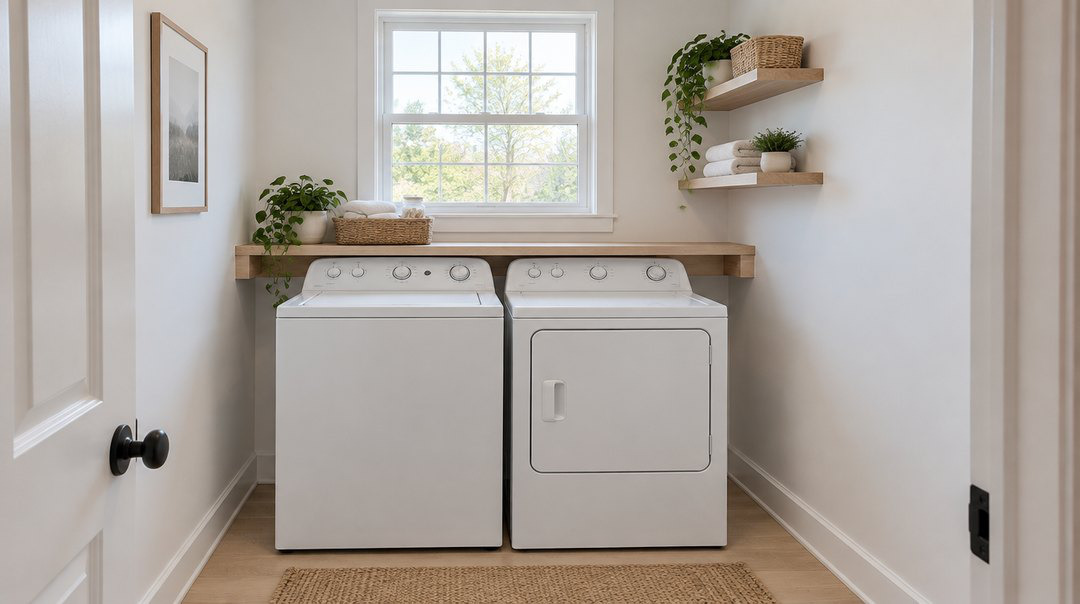
Example of shot 12, Laundry roomShot 12

Laundry room

From the doorway, washer and dryer in frame.
UPSTAIRS

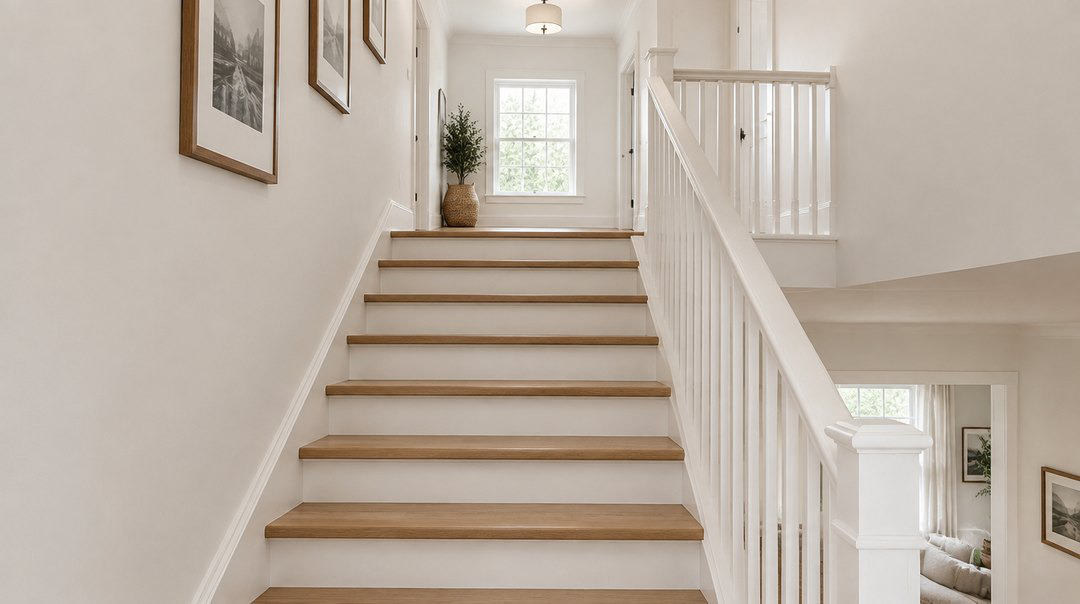
Example of shot 13, Stairs and hallwayShot 13

Stairs and hallway

From the bottom of the stairs, looking up.
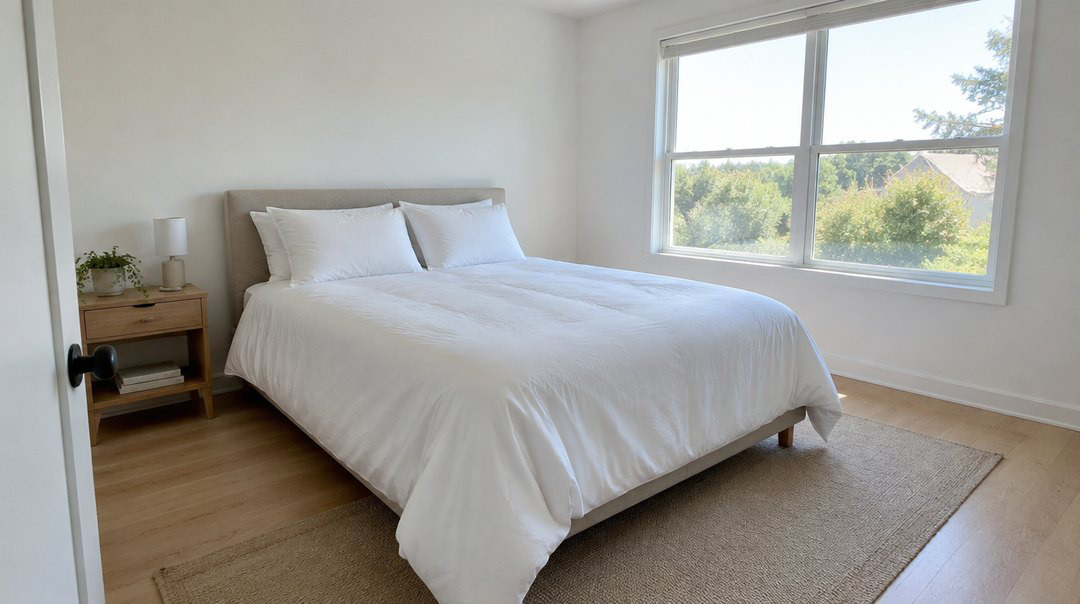
Example of shot 14, Primary bedroomShot 14

Primary bedroom

From the corner by the door, bed and window together.
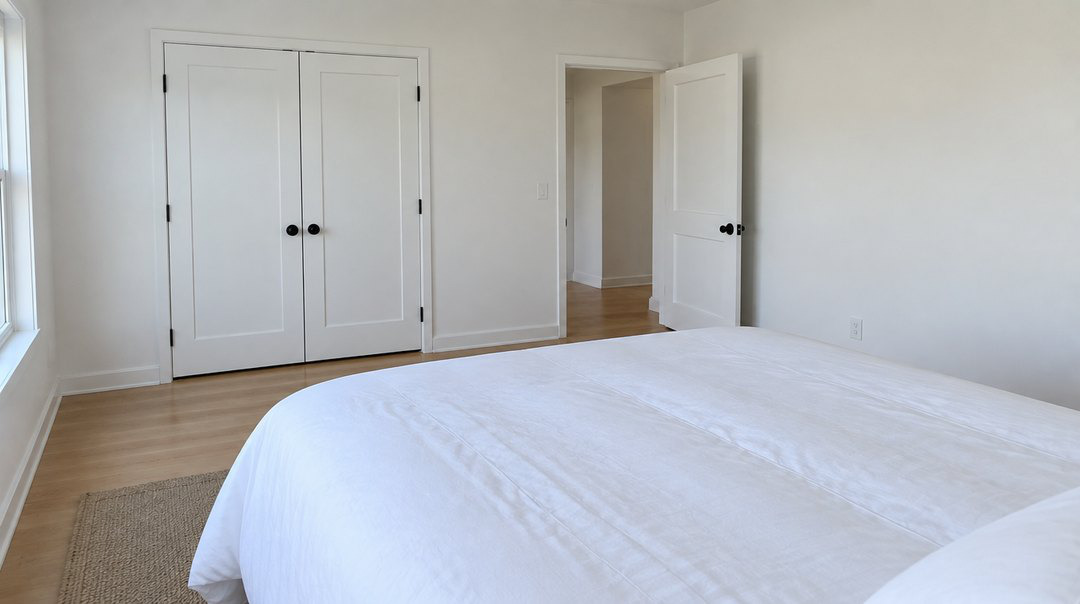
Example of shot 15, Primary bedroom, other angleShot 15

Primary bedroom, other angle

From the window side, looking back at the door and closet.
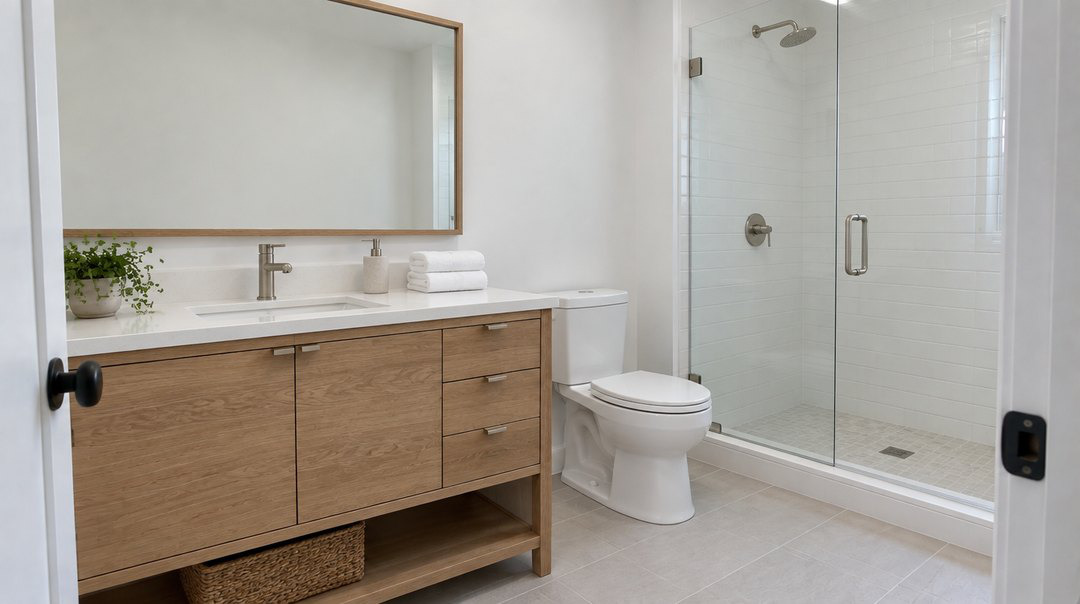
Example of shot 16, Primary bathroomShot 16

Primary bathroom

From the doorway, stepped aside so you are not in the mirror.
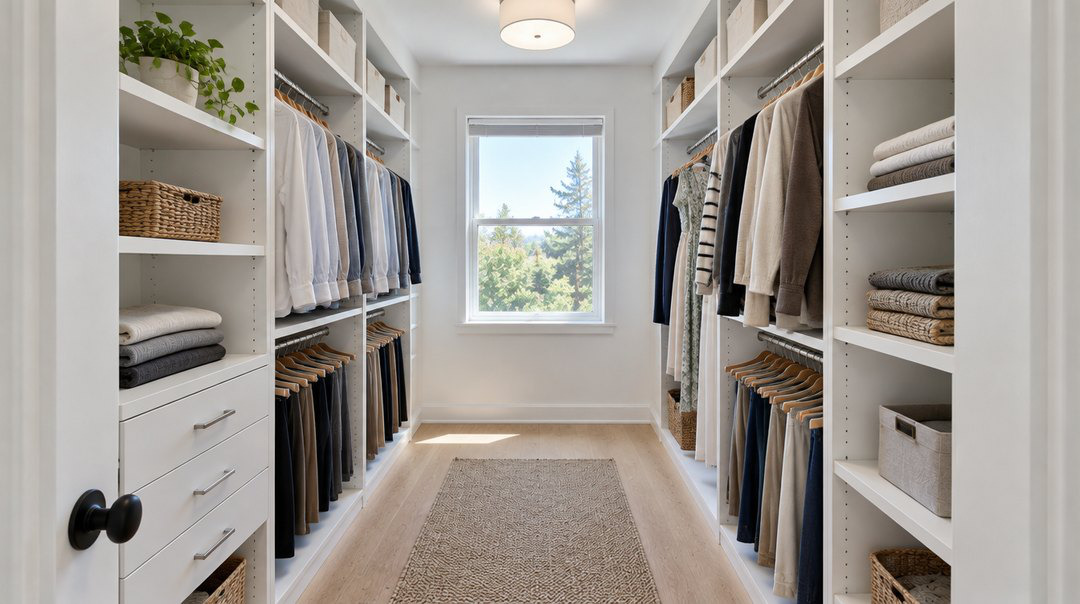
Example of shot 17, Walk in closetShot 17

Walk in closet

From the doorway, shelves and hanging space in frame.
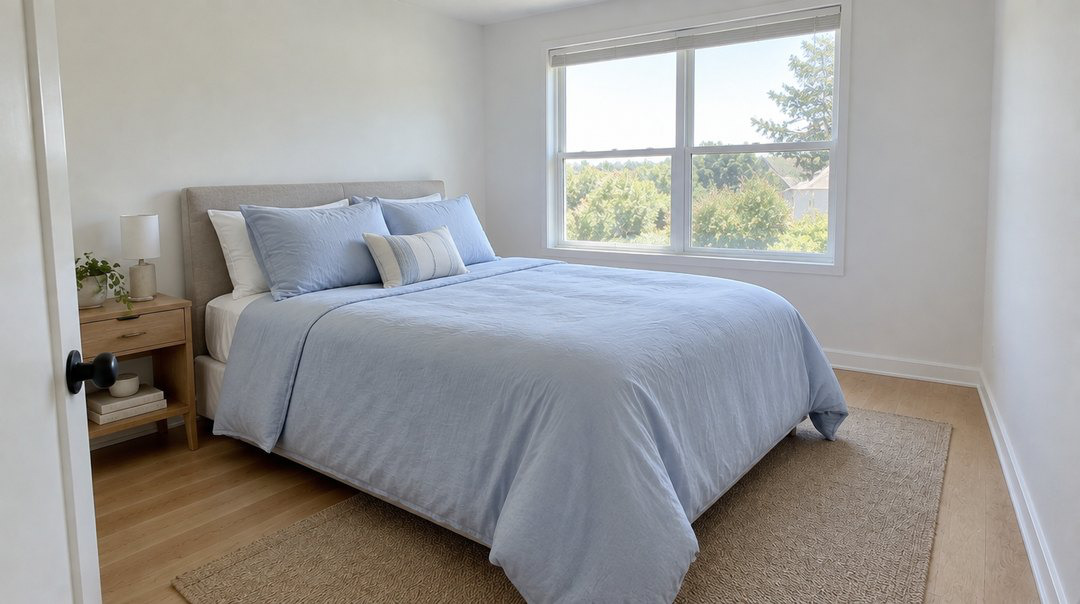
Example of shot 18, Second bedroomShot 18

Second bedroom

One photo from the corner by the door.
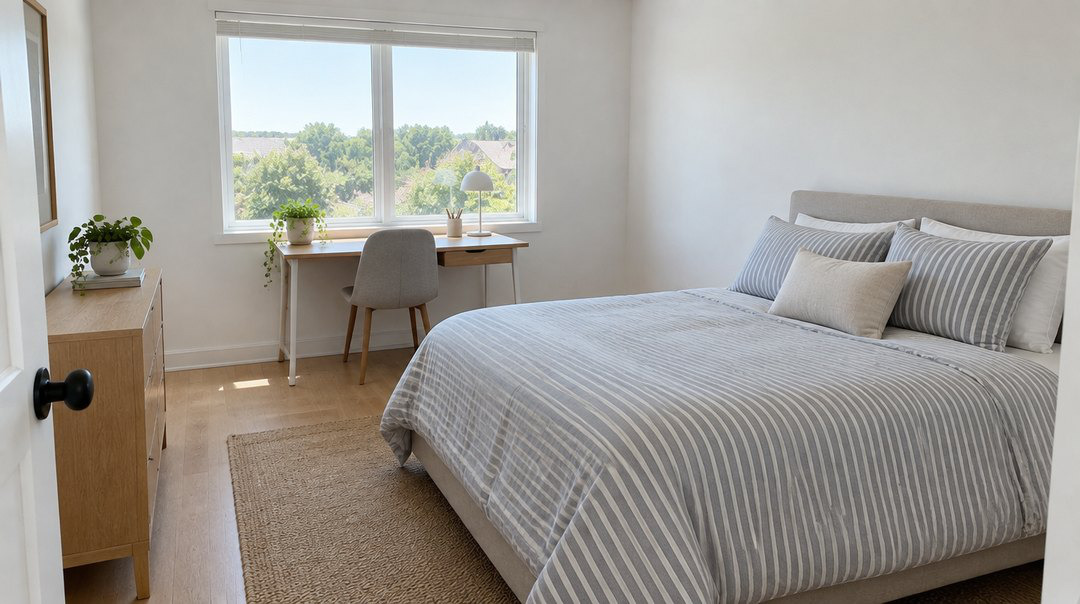
Example of shot 19, Third bedroomShot 19

Third bedroom

Same framing as the second bedroom.

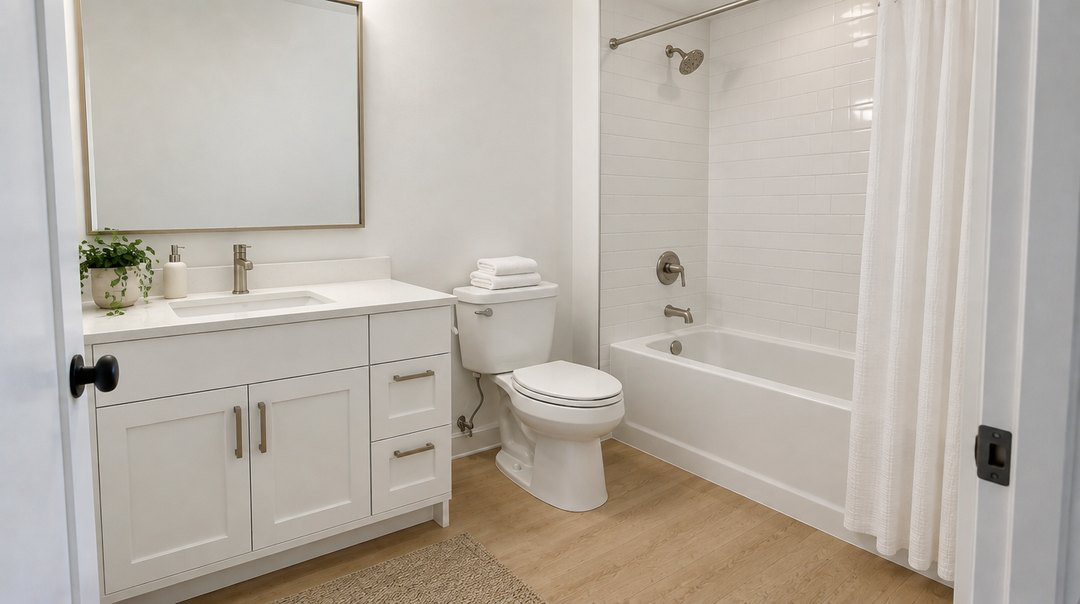
Example of shot 20, Second bathroomShot 20

Second bathroom

From the doorway, off to one side. Check the mirror.
OUTSIDE

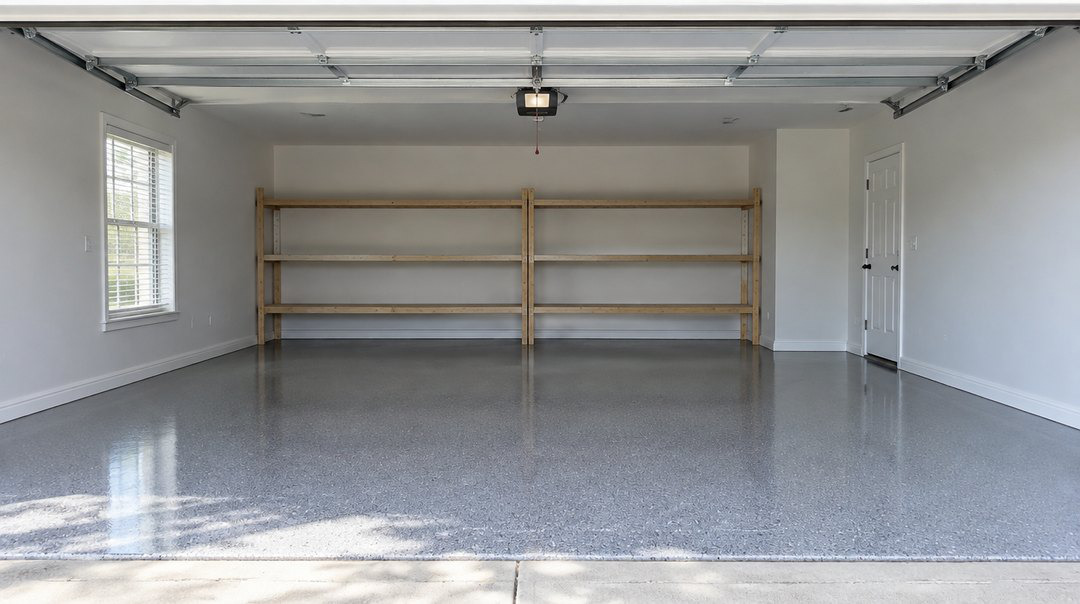
Example of shot 21, GarageShot 21

Garage

From the open garage door, looking in.
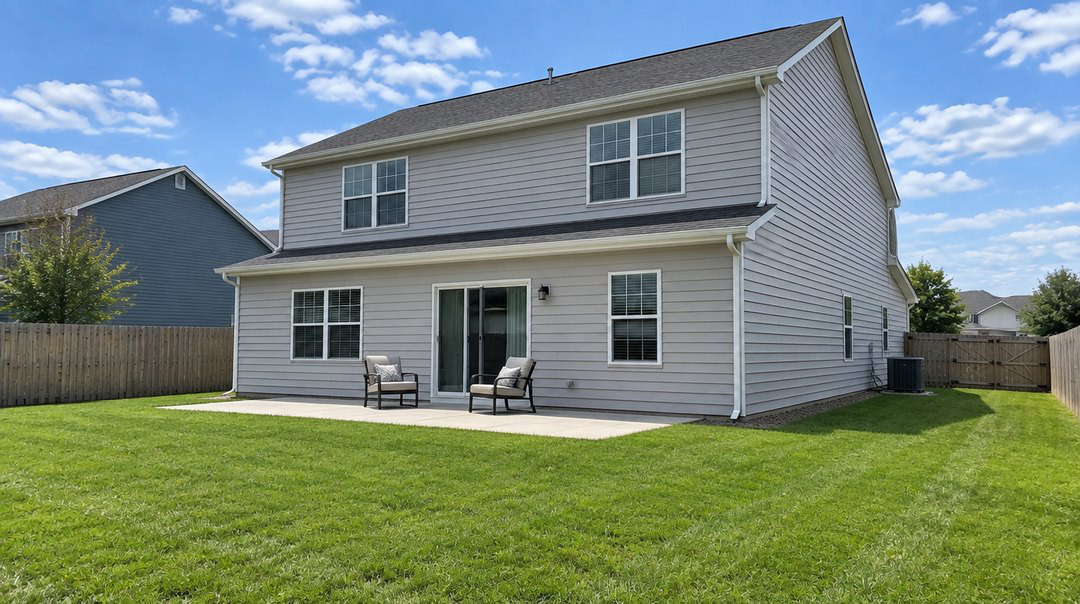
Example of shot 22, Back of the homeShot 22

Back of the home

From the far corner of the yard, looking back at the house.
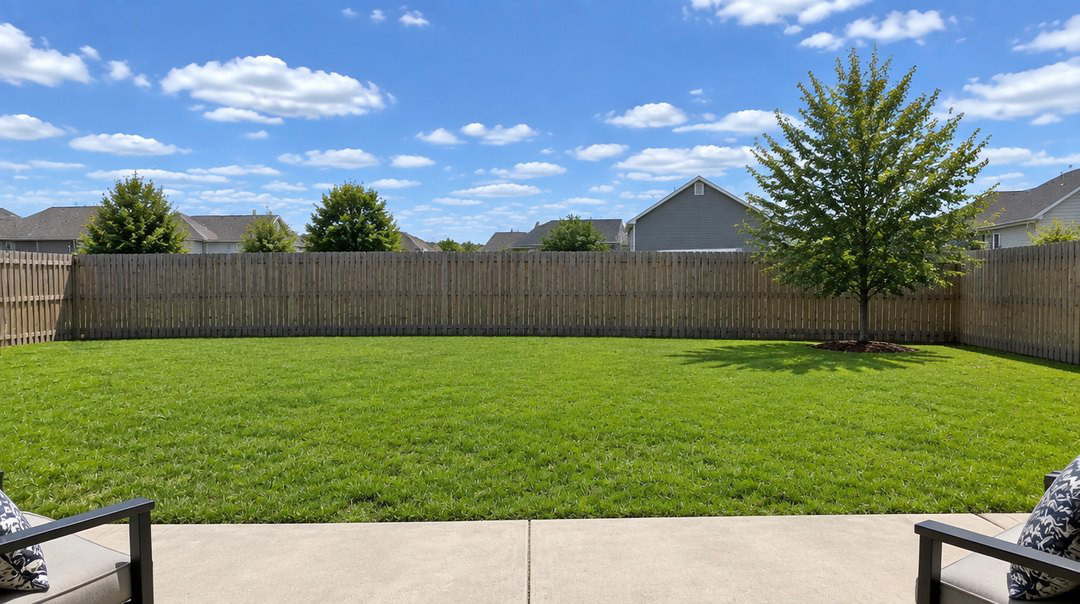
Example of shot 23, The yardShot 23

The yard

From the patio or back door, looking out.
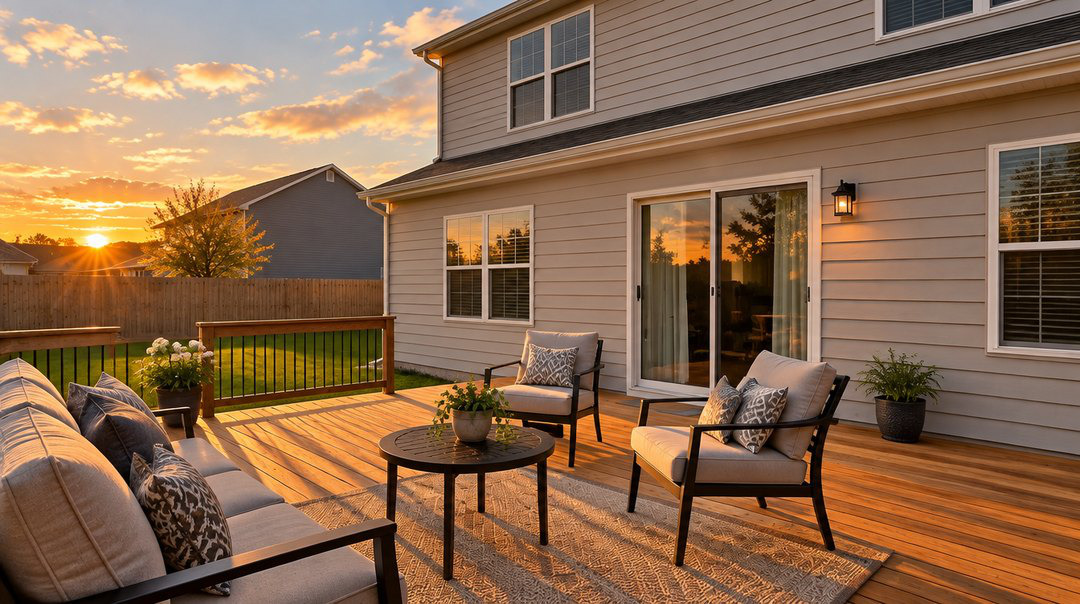
Example of shot 24, The best featureShot 24

The best feature

The deck, pool, fire pit, or view. This is how your video ends.

Send your photos

Five steps, once you have all 24.

  1. Put your keepers in one albumIn your photo app, pick your best photo of each shot and add them to a new album called WalkThru.
  2. Connect to Wi FiPhotos are large files, so Wi Fi is faster and will not use your data.
  3. Open the upload link we sent youIt is in your booking email and text. It opens a simple upload page. No account or app needed.
  4. Choose your photos and sendPick your photo library, select the WalkThru album, add your name and email, and start the upload.
  5. Keep the page open until it finishesStay on the screen without locking your phone until the upload is complete.
Your upload link is personal. Look in the booking email and text we sent you. It is unique to your property, so please do not share it. Uploaded a photo you are not happy with? Upload a better one to the same link and we always use the newest.

Questions while you shoot?

Reply to our email or text us. We are happy to help you get any shot right.

Call or text (734) 639-0618